On December 16, 2011, Olive made its debut as the very first feature-length film entirely shot on a smartphone instead of a camcorder. One of the movie’s goals was to make viewers comment, “I completely forgot that movie was shot on a smartphone.” Remarkably, Olive went on to receive an Oscar nomination for one of its original soundtracks.
However, it’s not that easy to duplicate such a feat. Even a state-of-the-art smartphone will only produce professional footage if its operator knows what they’re doing. To efficiently use your device on your future projects, take note of these 7 tips that will help you get the best-quality video from your smartphone!
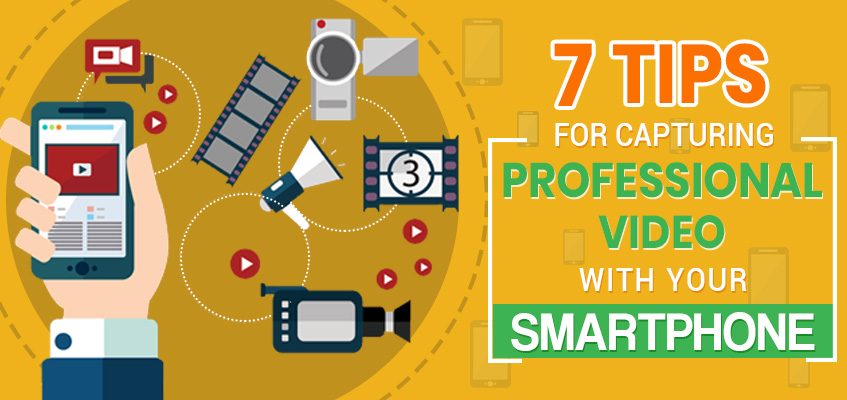
7 Top Tips for Shooting High-Quality Video with Your Smartphone
1. Keep Your Phone Steady
Excessive shaking is a telltale sign of amateur videography. A tripod or camera cage can easily keep your smartphone still. But if you don’t have a tripod on hand, you can hold your smartphone with both hands and keep your elbows against your body. To pan, turn your whole body instead of just your arms.
It also helps if you can find a chair, ladder, or ledge where you can rest your phone while taking the video.
2. Pay Attention to Composition
Whether you’re using a DSLR or a smartphone, you can take better videos if you follow the rules of composition. A well-composed shot will naturally lead viewers to focus on exactly what you want to highlight. Here are some of these composition rules:
- Apply the Rule of Thirds. Your smartphone’s camera app is likely to have an option for a 3×3 grid. Activate it and position your subject behind one line. The head of a human subject should be on one of the points where the top horizontal line intersects with either of the vertical guides.
- Align Shots with Flat Surfaces. You can also use the grid to ensure that your videos aren’t crooked. Keep the lines of the grid parallel to the floor, a wall, or some pillars.
- Allow Space Behind the Subject. This prevents the shot from becoming claustrophobic.
- Keep Eye-Catching Objects Out of the Background. Any movement in the background can easily steal your viewers’ attention from the subject. And yes, this includes passersby. If filming in a public space, you can ask a friend to block off a path and politely ask for cooperation from nearby joggers or bikers.
- Don’t Crop Out the Chin. In close-up shots of human subjects, it’s more acceptable to chop off the top of a person’s head.
3. Mind the Lighting
Since smartphones have small lenses and image sensors, it’s important to get proper lighting from the get-go. Otherwise, you’ll end up with one of those bad shots where a human subject has bright yellow skin and red eyes. Check out these lighting tips:
- Shoot in an Area with Even Lighting. If you’re outdoors, this means avoid midday shoots and their hard shadows. You can also even out the lighting by using a mirror or renting a ring light. For nighttime filming, your smartphone’s built-in options for low-light shots may not be enough. See if you can shoot near a street lamp or a neon sign for an interesting effect.
- Don’t Point Your Smartphone at Bright Lights. Doing so can result in lens flare or an overexposed shot. Conversely, pointing the phone at a light source is one way to achieve lens flare for stylistic purposes.
- Avoid Backlit Shots. That is unless you’re okay with your subject becoming no more than a silhouette.
- Use Your Time Well. Remember, the sun will continue moving across the sky no matter how many retakes you need for a certain shot. If you take too long outdoors, viewers will notice that the shadows in the video are off. You might also lose your lighting entirely if you’re shooting at the golden hour (after sunrise or before sunset)!
4. Take Control of Exposure and Focus
Your phone might sometimes adjust its exposure and focus at an inconvenient moment. An example of this is when a nearby subject becomes blurry or too dark because your phone targets the background instead. But did you know you can actually lock your phone’s exposure and focus?
Simply press and hold on a certain part of the screen to activate the Auto Exposure/Auto Focus Lock. Voila! You’ll have sharp images with proper exposure.
5. Try Out Different Angles
A good rule of thumb is to shoot 10 to 15-second videos from different angles. Take one or two wide shots before going for medium or close up shots for the highlights. Speaking of close up shots…
6. Zoom In Without Using the Zoom Function
Unlike DSLRs, smartphones use digital zoom instead of optical zoom, which results in pixelated close-up shots. You’re better off keeping the phone zoomed out but physically moving closer to the subject.
An exception is if you have the right phone accessories for the job. With a quick online search, you can easily find little telephoto lenses that clip onto smartphones. Some brands offer phone lenses in kits, complete with travel cases and cleaning cloths!
7. Record Good Audio to Match
Smartphones don’t always have good built-in microphones. If you’re not careful, you’ll end up with a stunning video that’s almost unusable because of its poor audio! Here are three tips to avoid this:
- Use an External Microphone. Some external mics are better than others, but any mic is ultimately better than none. Your clips will have great audio from the get-go, making editing a lot easier as well.
- Use a Second Smartphone. Place this second phone near the speaking subject or any sound source you’re recording. Then, place the recorded sound over the video during the editing process.
- Use Different Audio Entirely. If you don’t need the source audio after all, you can mute it while editing and put music or a voice-over on top.
If you’re really stuck without an external mic or another smartphone, there’s still hope. Here are some tips for this case:
- Avoid filming in empty rooms, tunnels, or halls, which tend to give off echoes.
- Avoid crowded places, which produce intense ambient noise.
- Avoid windy areas. Alternatively, cover the smartphone’s mic with your hand to reduce wind noise.
- Be gentle when adjusting your phone to avoid any squeaks, clicks, or taps ending up in the audio.
ALSO READ: Video Production for Beginners: 8 Videography Tricks from the Pros
Get your smartphone ready! With these 7 tips, you’ll be shooting professional video on your phone in no time. Just be sure you have enough memory for your footage.
Want to transform your smartphone videos into a true work of art? Drop us a line at Mustasa Republic. Our experts can guide you through every step of your project, all the way to post-production. And once your project goes up, your viewers might also forget that you’ve actually used a smartphone for it! Contact us to find out more.
Liked this post? Visit our blog for more awesome articles about video production in the Philippines.